XYLUMOS
A Smart Toy for Kids
Description
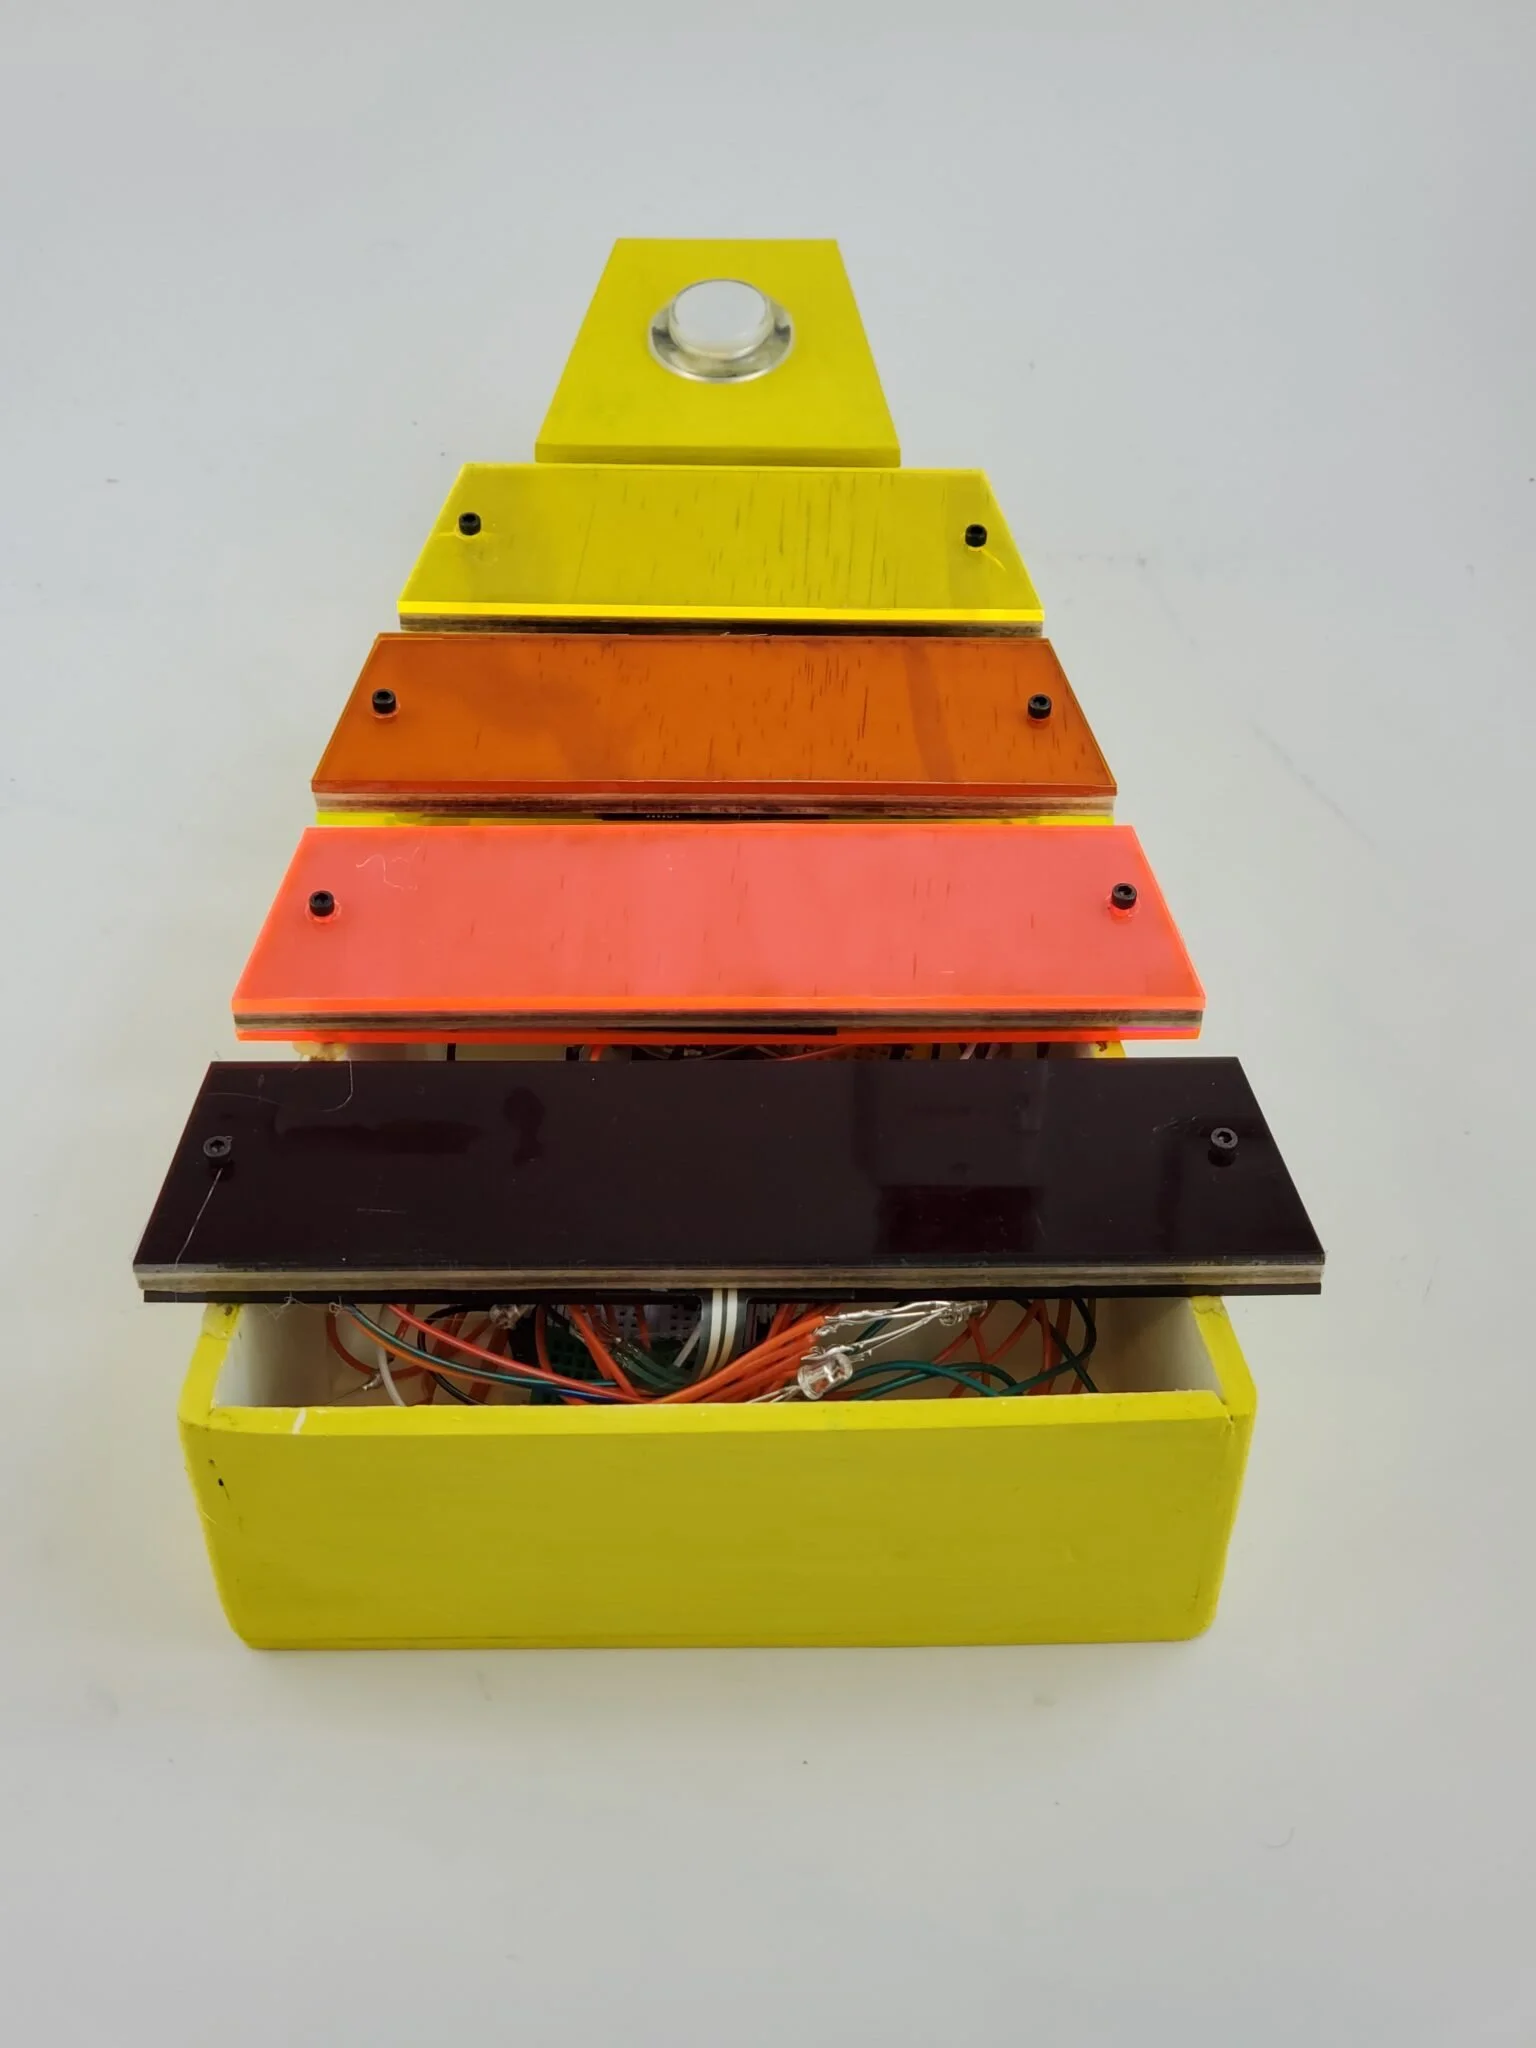
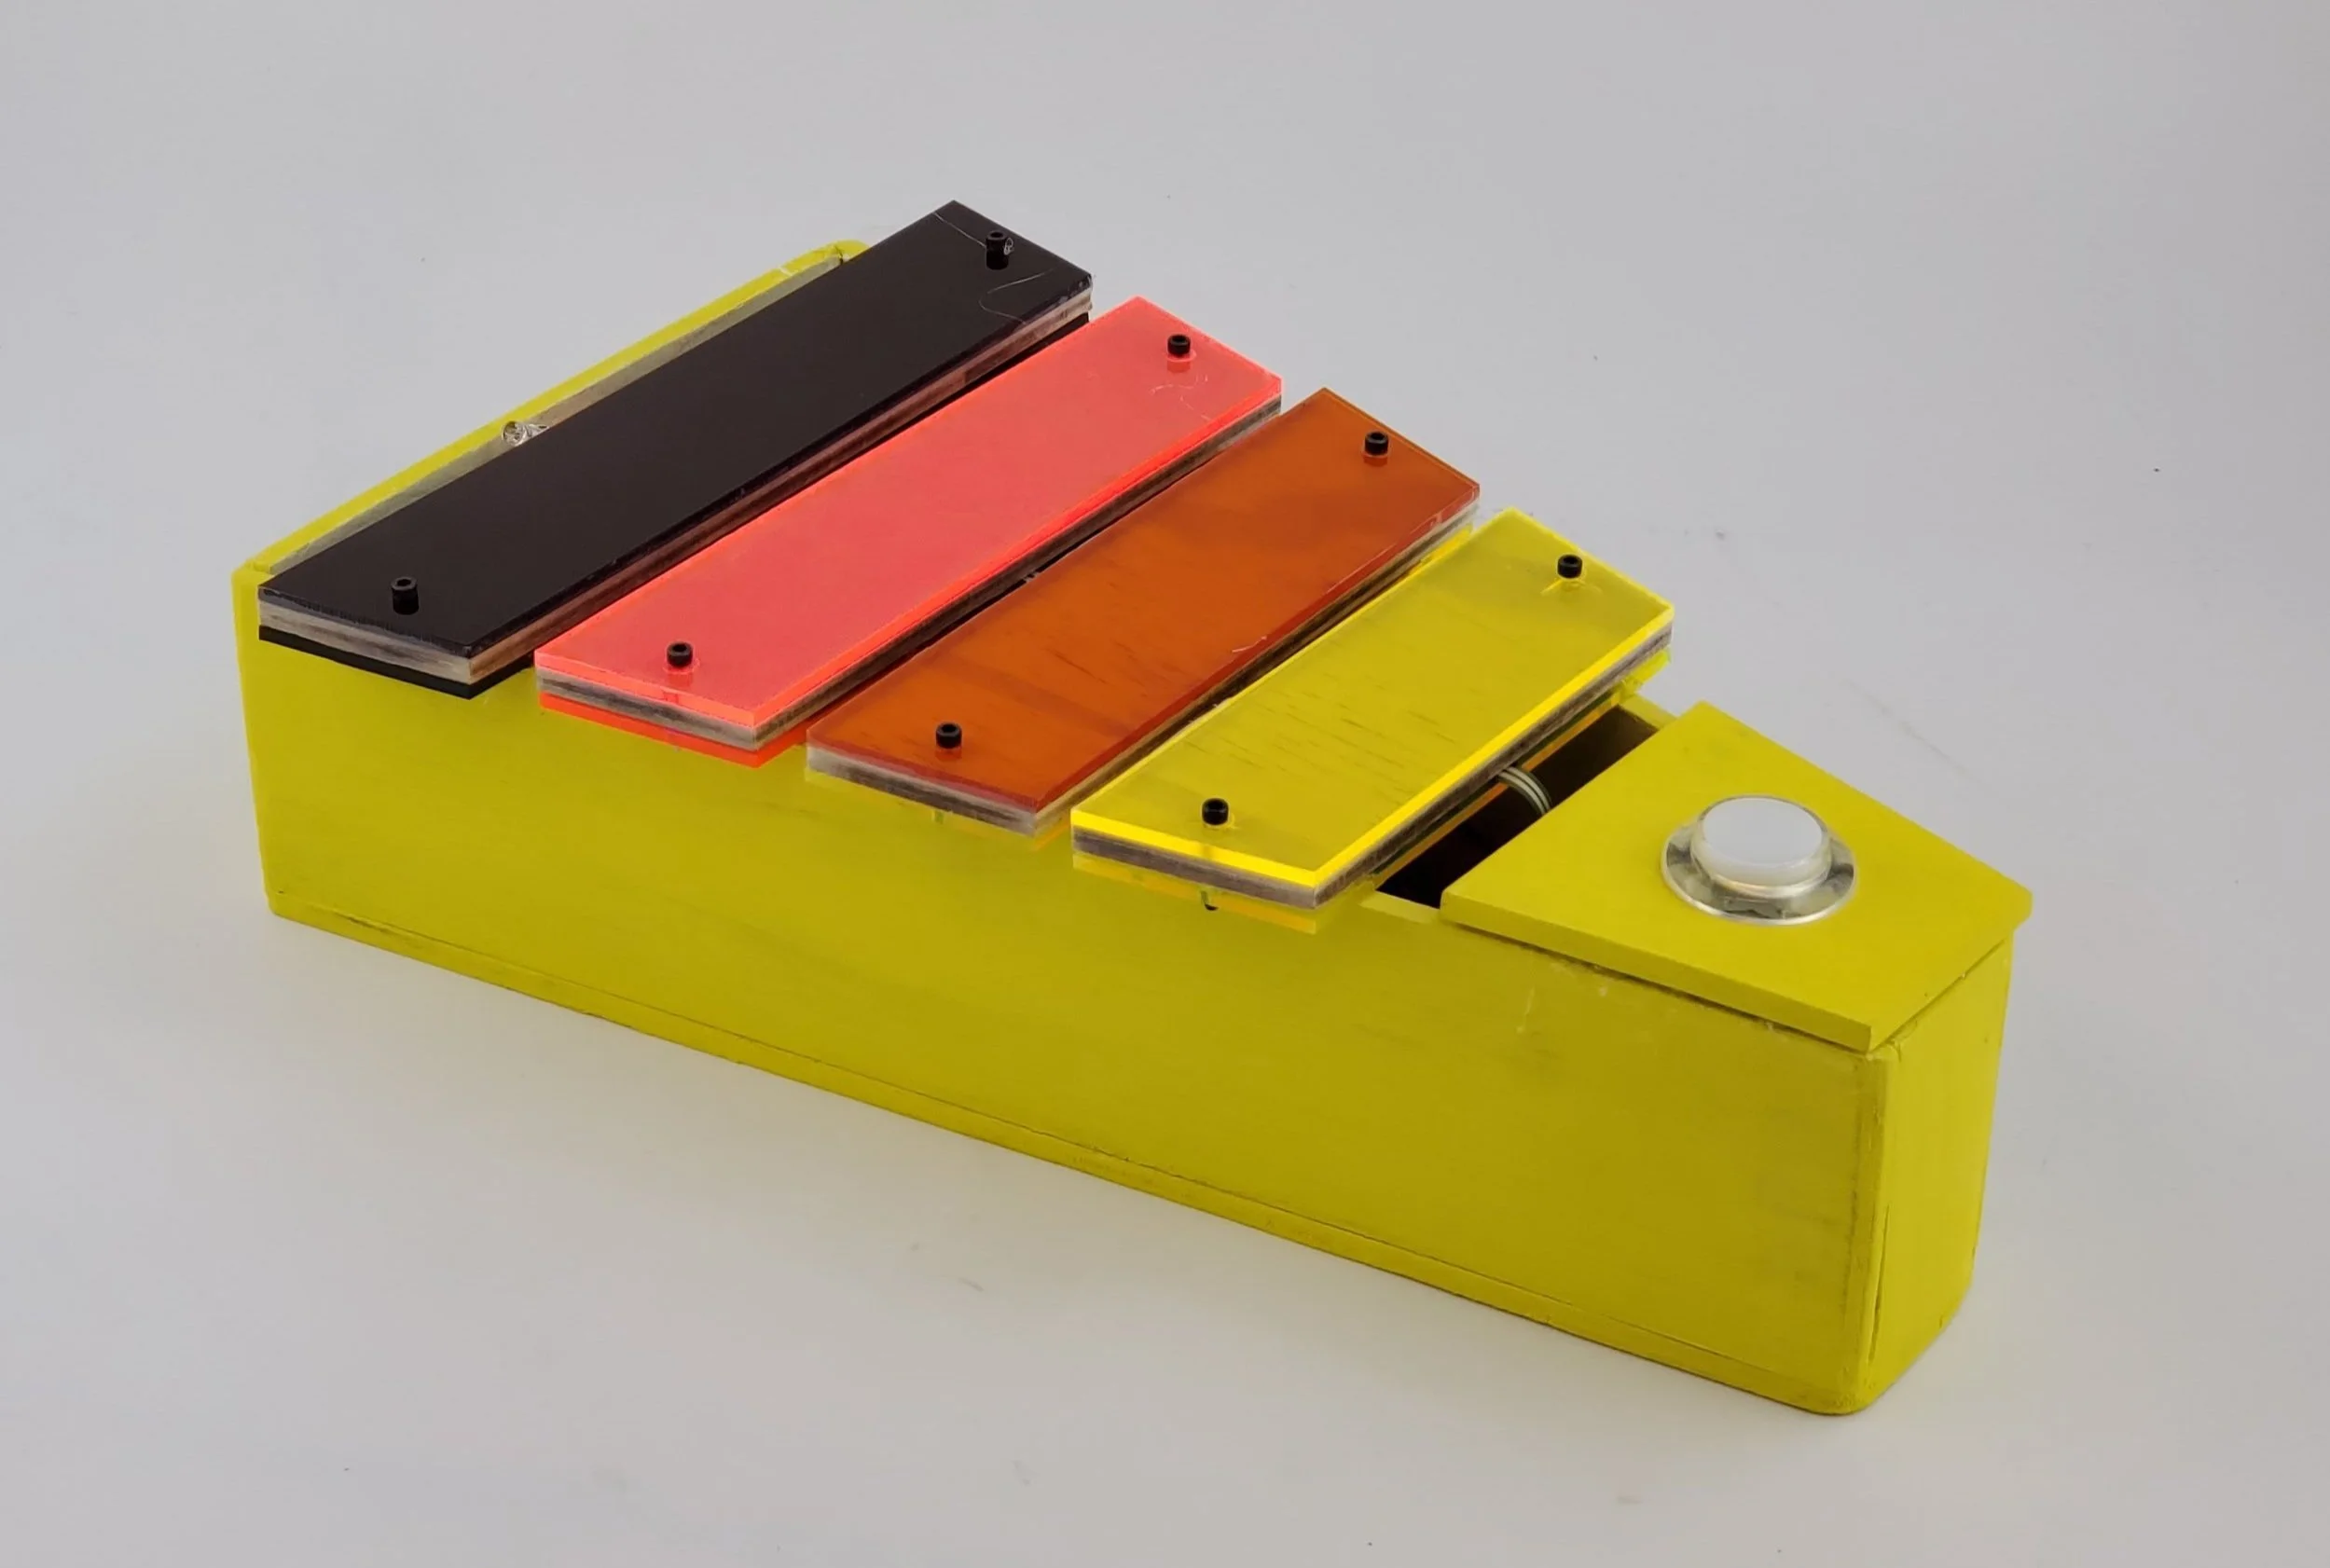
For my final project in my introduction to engineering class, my group partners and I were tasked with building a toy for children in a kindergarten class. After talking to the kids, we chose to build a xylophone that would light up different colors with each note that was pressed on.
Through this project, I gained insight into working on an interdisciplinary team on a full-scale project, from start to finish.
My Role
My teammates and I split up the project into 4 main sections, and I served as the electronics lead. This included:
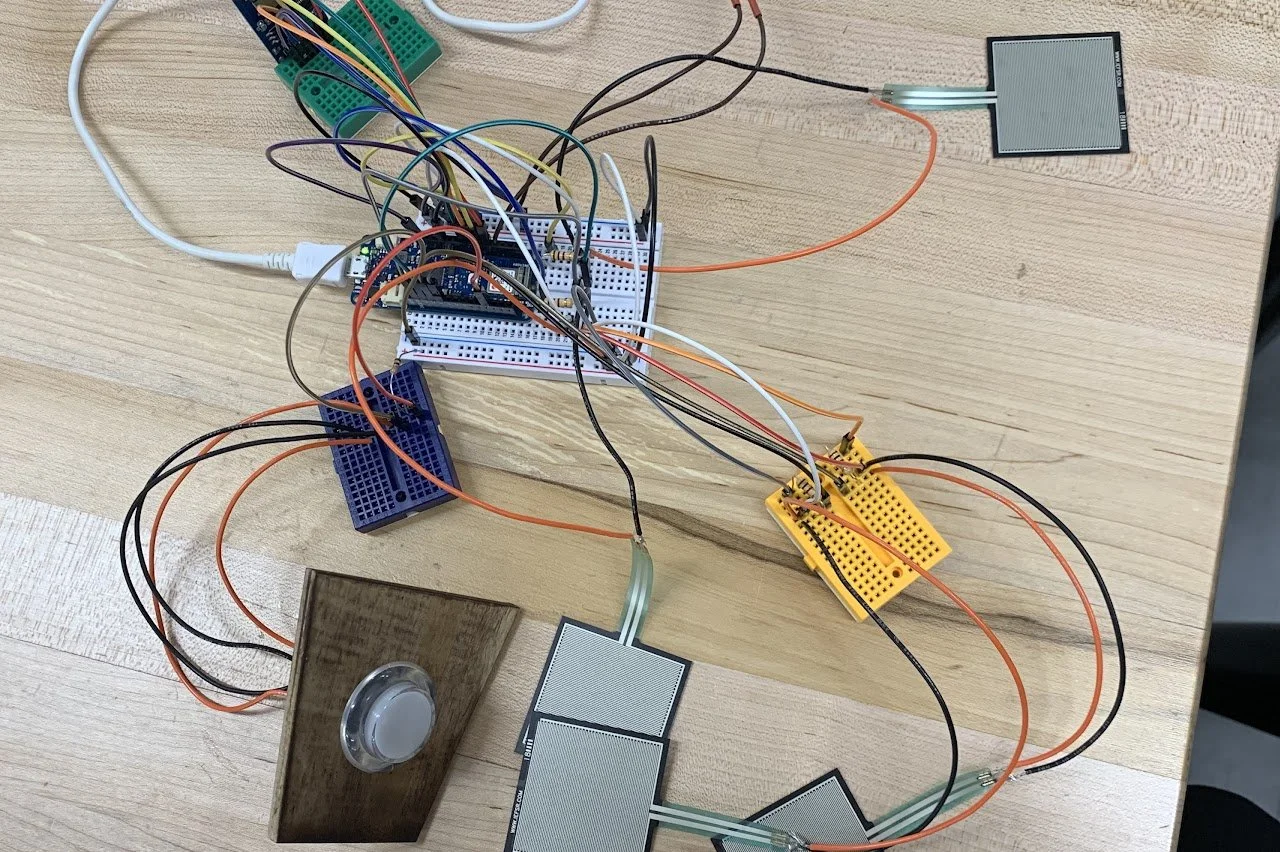
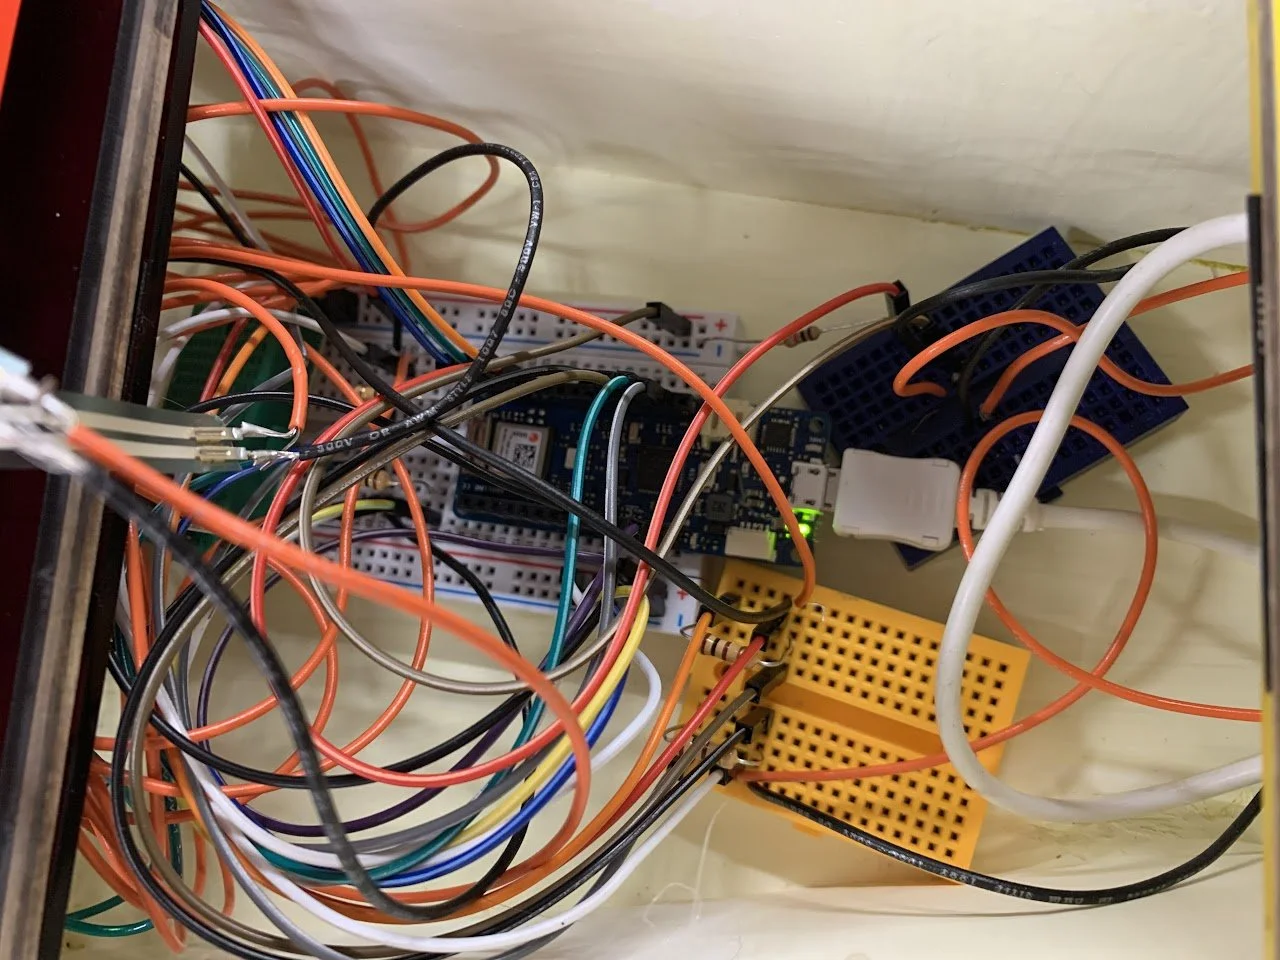
Electronic wiring
Soldering
Integrating electronics into the xylophone box

Electronics
Arduino MKR WiFi 1010
Easily connects to the IoT Cloud
Force sensors (4)
Each key has a force sensor under it, so when the key is pressed, the color that is coded with that sensor appears on the LEDs
When the key is pressed harder, the LED becomes a brighter shade of that color
In order to extend how far the force sensors can reach so they can fit in the keys, I soldered wires onto each of them. On the Arduino Project Hub, I referenced a wiring diagram for pressure sensors to wire the circuit for the sensors
Push button
The push button switches the 'color pack' that can appear on the LEDs
After the button is pressed, the color each sensor is coded with changes
RGB color-changing LEDs
All of the LEDs are coded to change colors when a force sensor is pressed
For this project, my team made a separate website — see it here.
This project was one of my very first real engineering experiences.
In this project, I learned how to:
solder
iterate on a design (& accept that it still turns out just fine)
integrate electronic components into a larger system
work on a cross-functional engineering team for a full-scale project